Getting started
Quick start
Take your favorite OS, terminal, environment and run:
git clone https://github.com/criteo-research/pytorch-ada.git
First you need to install the library. It has been tested with python 3.6+, with the latest versions of pytorch-lightning.
If you want to create a new conda environment, run:
conda env create -n adaenv python=3.7
conda activate adaenv
Install the library (with developer mode if you want to develop your own
models later on, otherwise you can skip the -e):
pip install -e adalib
Note: on Windows, it could be necessary to first install pytorch and torchvision with conda:
conda install -c pytorch pytorch
conda install -c pytorch torchvision
pip install -e adalib
Run on of the scripts:
cd scripts
python run_simple.py
By default, this script launches experiments with all kinds of methods on a blobs dataset – it doesn’t take any parameter, you can change it easily from the script. It may take a few minutes to finish.
Most parameters are available and can be changed through configuration
files, which are all grouped in the configs folder:
- datasets
- network layers and training parameters
- methods (Source, DANN, CDAN…), and their specific parameters.
Advanced options
The script run_full_options.py runs the same kind of experiments
allowing for more variants (semi-supervised, unbalanced, with gpus and
MLFlow logging). You can run it without parameters or with -h to get
help.
MLFlow
You can log results to MLFlow. Start a MLFlow server in another terminal:
conda activate adaenv
mlflow ui --port=31014
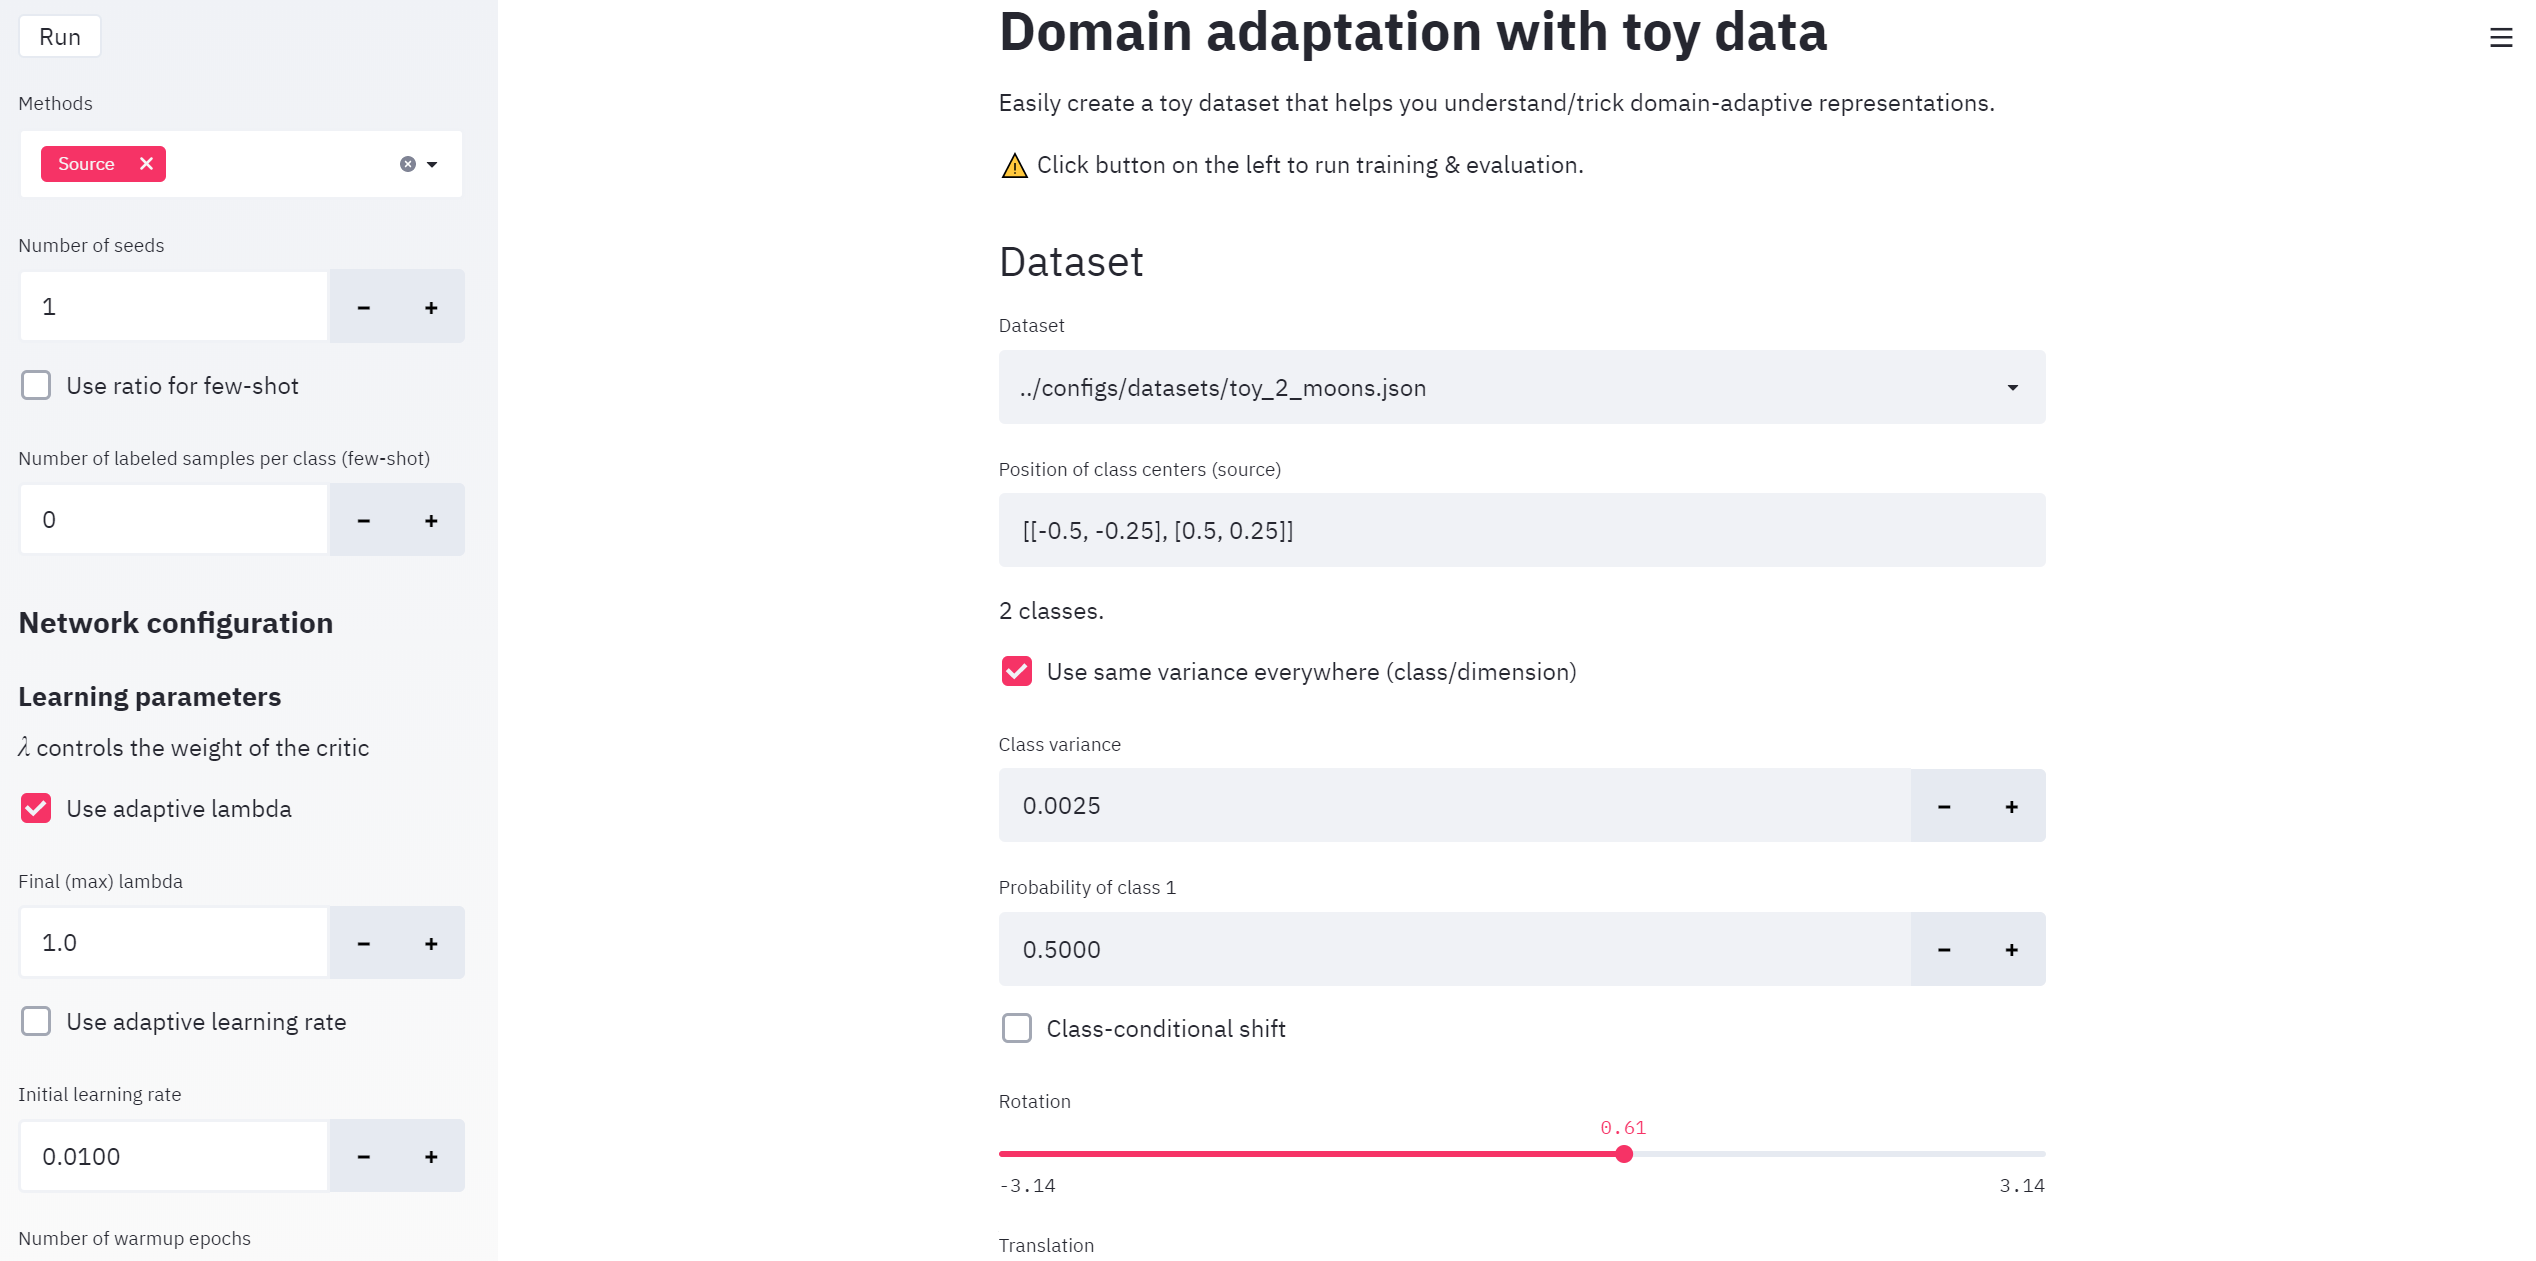
Streamlit application
Optionally, you can use the streamlit app. First install
streamlit with
pip install streamlit
then launch the app like this:
streamlit run run_toys_app.py
This will start a web app with a default port = 8501. It should look like this in your browser:
Quick run on other datasets
Run experiments on Office31
The default configuration file office31.json is configured for domain adaptation from Amazon to Webcam.
python run_full_options.py -d ../configs/datasets/office31.json -g 0
-g 0 tell PyTorch to use the GPU with id 0, remove this parameter altogether to train on CPU. You can list several GPU ids with -g 0 1 … (note this can cause errors with some pytorch-lightning versions). The above command will train networks with the default configuration in ../configs/office31_network.json, which defines the architecture (eg ResNet50 for the feature extractor) and the learning hyperparameters (epochs, learning rate, …).
You can edit the content of the ../configs/datasets/office31.json config file to use other domain configurations (eg Webcam to DSLR). Please note it is important to change the “dataset_name” field to organize the output directory structure.
{
"dataset_group": "office31",
"dataset_name": "Amazon to Webcam",
"source": "amazon",
"target": "webcam",
"size_type": "source",
"weight_type": "natural"
}
You can edit ../configs/office31_network.json to change any network parameter. The configuration contains two subsets of parameters:
- train_params define the hyperparameters to be used for training: learning rate, optimizer, number of epochs.
- archi_params define the “static” architecture of the network, with three blocks for feature extrator, task classifier and critic network.
- The critic network parameters may be ignored by some methods.
Example:
{
    "train_params": {
        "adapt_lambda": true,
        "adapt_lr": true,
        "lambda_init": 1,
        "nb_adapt_epochs": 150,
        "nb_init_epochs": 50,
        "init_lr": 1e-3,
        "batch_size": 32,
        "optimizer": {
        "type": "SGD",
        "optim_params": {
            "momentum": 0.9,
            "weight_decay": 0.0005,
            "nesterov": true
        }
        }
    },
    "archi_params": {
        "feature": {
            "name": "ResNet50",
            "feature_dim": 128
        },
        "task": {
            "name": "feedforward",
            "n_classes": 31
        },
        "critic": {
            "name": "feedforward",
            "hidden_size": [
                256
            ]
        }
    }
}
Run experiments on Digits
This is very similar to Office31. The default configuration file digits.json is configured for domain adaptation from MNIST to USPS. You can easily change the domains by editing this configuration file.
python run_full_options.py -d ../configs/datasets/digits.json -g 0
This will use by default the network configuration in ../configs/digits_network.json.